Pages

8.09.2012

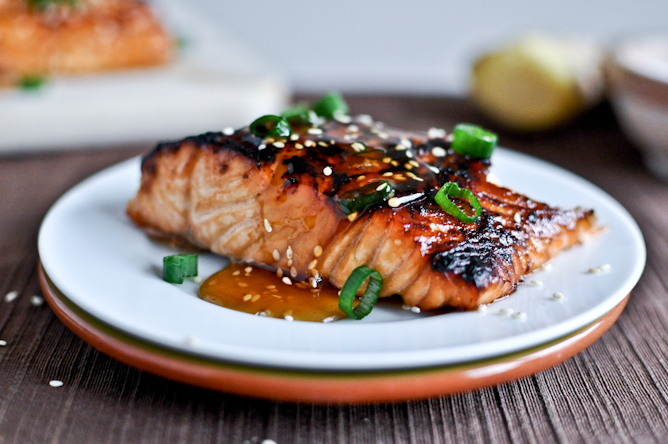
toasted sesame ginger salmon.


Mmmm...doesn't that make you hungry? Blogging about food is a lot harder than one may think. It's 8:30 at night...you're sitting on your couch and the dinner you ate over two hours ago is just not cutting it any more...you're looking at pictures of food...and writing about food...and craving just about anything with salt in it...and to top it off...your're watching Diners, Drive-Ins and Dives! That "Guy" gets me every time!

Well, before I hit up the snack cupboard, here is a recipe that everyone should try at least once...although that may not be enough. This recipe has quickly become a "go-to" for Joe and I. It's not overly difficult, so it's great to whip up on your everyday Thursday night, but it's also an amazing dish to serve up if you have guests coming over for dinner. And it just looks so pretty! We eat this salmon with just about anything, but if you want to keep with the Asian flavours, serve with a side of rice, some bok choy, or a bowl of miso soup. Another tip of mine...call your husband when he's "working from home" and have him marinate the fish for you on one of his "15 minute breaks"...every little bit helps!


Toasted Sesame Ginger Salmon
(Serves 2-4 people)

- (1 1/2) lbs of raw salmon
- (1/4) cup of olive oil
- (2) tablespoons of toasted sesame oil
- (2) tablespoons of rice vinegar
- (2) tablespoons of brown sugar
- (2) tablespoons of soy sauce
- (2) garlic cloves, minced or grated
- (1) tablespoon of freshly grated ginger
- (1-2) tablespoons of toasted sesame seeds
- (4) green onions, sliced

Sesame Ginger Honey Glaze

- (1/4) cup of honey
- (1) teaspoon toasted sesame oil
- (1) teaspoon soy sauce
- (1/2) teaspoon of freshly grated ginger
- (1/2) teaspoon toasted sesame seeds (toasting isn't totally necessary)


Preheat your oven to 400 degrees F. Line a baking sheet or shallow baking dish with aluminum foil and set aside.

In a bowl, combine olive oil, sesame oil, soy sauce, garlic, ginger, vinegar, and brown sugar and whisk well until combined. Either add the salmon to the bowl of marinade and cover or place both the salmon and marinade into a ziplock bag and allow to marinate in the refrigerator for at least 30 minutes. Note that I generally cut this recipe in half as I'm only cooking for the two of us :).


Once the salmon has finished marinating, it is now time to pop it in the oven. Place your filets skin side down directly onto the aluminum foil. If you like, season your salmon with a pinch of salt and pepper and place in the oven. The cooking time will vary slightly depending on your oven and the thickness of your filets, but they will generally take about 20-30 minutes. I like to turn my oven to broil for the last 5-10 minutes to get a nice carmelized crust. 


While your salmon is baking, you can go ahead and prepare the glaze. Combine all ingredients listed above in a small bowl and whisk until smooth. Set aside.


Once your salmon is finished cooking, remove from the oven. If you're unsure if your salmon is fully cooked, insert a fork into the thickest part of your filet and check out the inside. The fish should be a lighter shade of pink throughout, completely opaque, and should easily flake apart with your fork. 
I like to run a thin spatula underneath the fish to separate it from the skin. Next, plate the fish and top with the glaze. Sprinkle with green onions and sesame seeds and serve. Enjoy!


6.26.2012

summer sides.


I don't know about the rest of you, but summer for me means barbequing. I have spent the last eight months of the year trapped in my little 10' by 4' kitchen slaving over a hot stove (My husband is convinced it's 12' by 6'...but don't men generally exagerate when it comes to measurements?) Either way, by the time May roles around I am itching to get outside, to smell the fresh cut grass, have the sun beat down on my pasty white skin, to look out over my big back yard, turn on the grill and start cooking. Oh...did I forget to mention that I live in Downtown Montreal? For now this is my beautiful view...

 
And this is my little slice of heaven...


But regardless of my sad little backyard scenario, that mean machine barbeque can cook up some fantastic burgs' and dogs' just like best of your oversized grills. And who can't grill a burger or boil a hot dog...it's the salads that really make a barbeque!
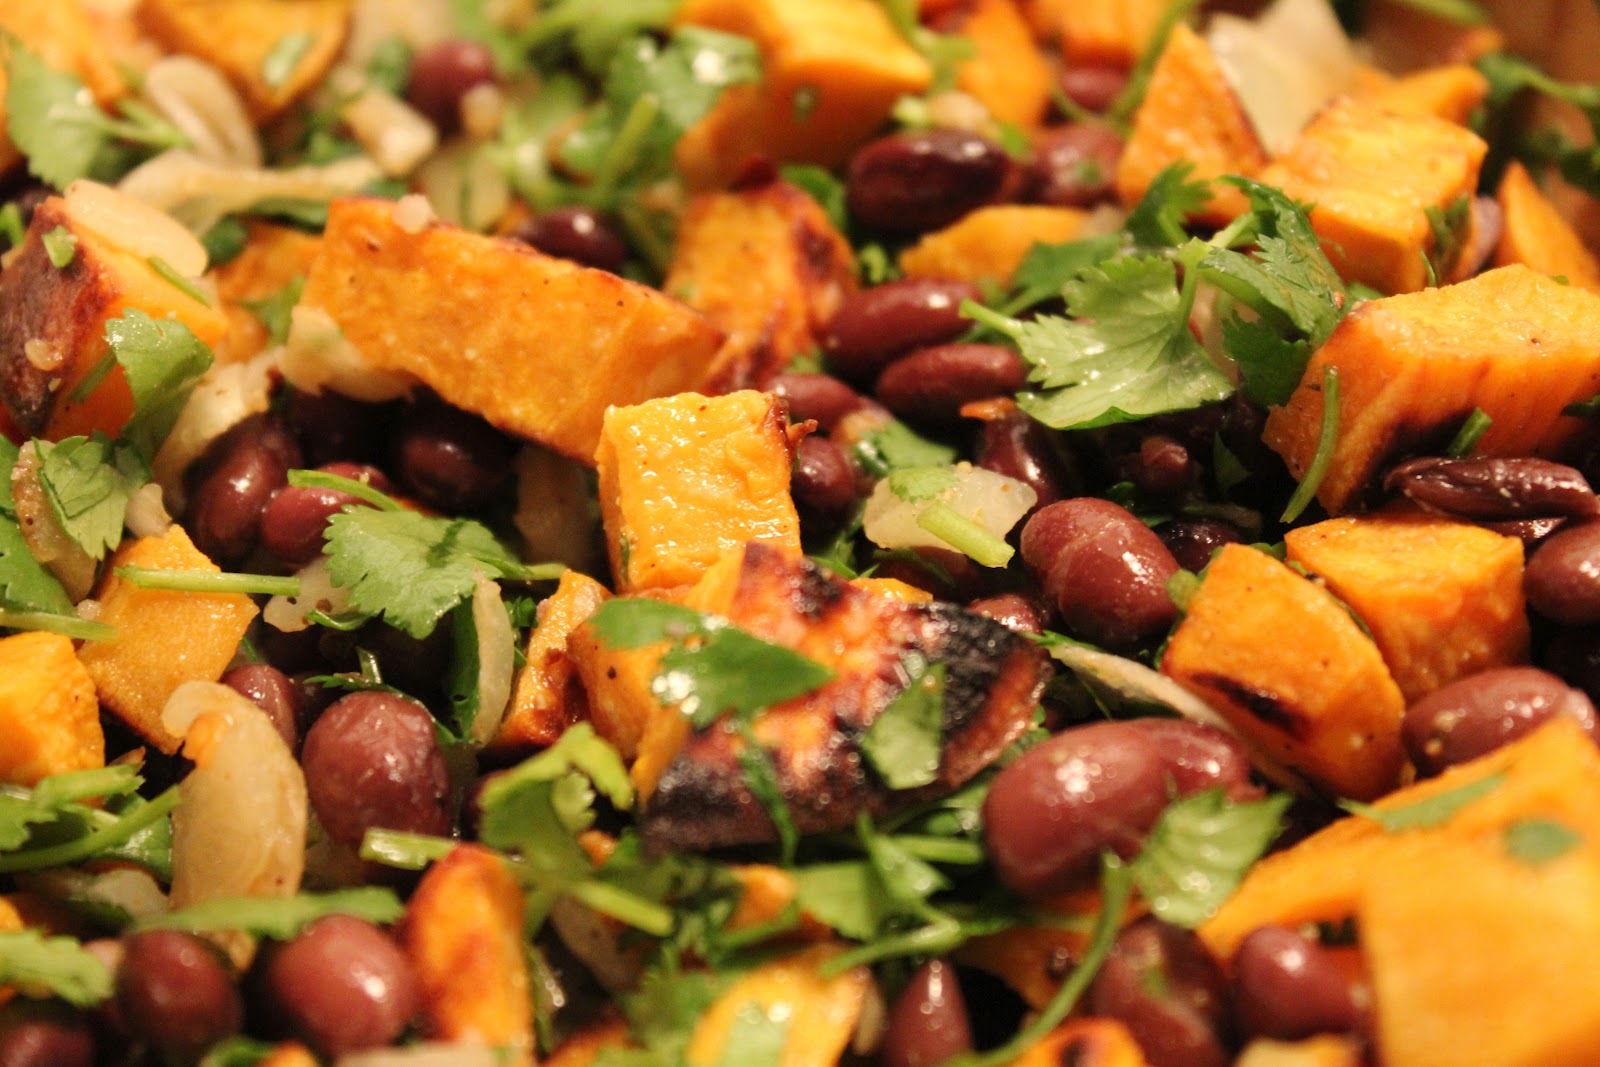
Skip the typical potato salad or pasta salad next time you're asked to bring a side dish to your family get-together and try this amazing sweet potato and black bean salad. This recipe has been adapted from a recipe originally featured in the New York Times and is a really great alternative to your typical macaroni and mayonaise. Enjoy!

Sweet Potato and Black Bean Salad

- (4) medium sweet potatoes (about 1 1/2 pounds), peeled and cut into 1/2 to 1-inch chunks
- (2) tablespoons of extra virgin olive oil
- Salt and freshly ground black pepper to taste
- (1) large onion, chopped
- (3) cloves of garlic, minced
- (1-2) tablespoons of minced fresh or pickled hot chile, like jalapeƱo
- Juice of 2 limes
- (1) tablespoon of white vinegar
- (1) teaspoon cumin
- (1/3) cup of extra virgin olive oil
- (2) cups of cooked or canned black beans, drained
- (1) cup of chopped fresh cilantro

Heat oven to 400 degrees C. Put cubed sweet potatoes on a large baking sheet, drizzle with about 2 tablespoons of olive oil (or enough to baste), toss to coat and spread out in a single layer. Sprinkle with salt and pepper. Roast, turning occasionally, until potatoes begin to brown on corners and are just tender inside, about 30 to 40 minutes. Remove from oven.


In a medium skillet, heat about a tablespoon of olive oil and saute the onion until tender, about 3-5 minutes.  Add the garlic and chiles and saute another 30 seconds to 1 minute.

 
In a small bowl, whisk together the lime juice, vinegar and cumin.  While whisking, drizzle in the olive oil until dressing comes together.  Season with salt and pepper.
In a large bowl, combine sweet potatoes, onion mixture, black beans and cilantro and toss with dressing to coat.  Serve immediately or refrigerate and enjoy later.


5.27.2012

lindsay's homemade oatmeal.


I've been meaning to blog about this recipe for months now, but the problem is that every time I make it, it's just slightly different. Kind of hard to write down a recipe that's always changing and all in my head...but here we go! I've been making a version of this homemade oatmeal for the last year now. Every Sunday night I will make a large pot of it and eat it for breakfast the next week. Wow...that just made me sound really boring! I do mix it up every once in a while...have some eggs, cereal...avocado on toast (for those of you who know my obsession with avocado)...but really, this is a staple at our house. 
The great thing about this recipe is how versatile it is. Really...the ingredients listed below are but mere suggestions. Feel free to add whatever "add-ins" you like from coconut, to dried fruit, to fresh fruit...even chocolate chips! Although I personally don't think I could stomach chocolate chips first thing in the morning...but to each their own. This recipe can be made and eaten immediately or reheated whenever you like. I generally keep it in a container in the fridge and scoop a bowlful for myself for breakfast. A splash of milk or water and a couple of minutes in the microwave and presto...instant oatmeal! 
One thing to keep in mind, this isn't your typical Quaker Instant Oatmeal, so don't expect it to taste like it. For starters, it's actually good for you! Depending on what you have on hand in your cupboards (and what your diet may be lacking) the sky's the limit! If you're looking to add a little fibre to your diet, some fresh fruit or a couple tablespoons of oat bran would be great. Adding a couple tablespoons of ground flax seed is a great source of antioxidants and Omega-3's. If you're trying to cut back on sugar, skip the brown sugar and maple syrup (although I must say it won't taste nearly as good!). Steel-cut oats are a slightly tougher, chewier oat and because they take longer for your body to digest, they keep you feeling fuller longer. Sorry for the spiel on nutrition, but eating this oatmeal for breakfast every morning just makes me feel slightly less guilty when a baguette and cheese becomes my dinner.
Oh...one last suggestion...buy your ingredients at a bulk store! Some grocery stores will package some of these ingredients in fancy containers with fancy labels and claim they are shipped from Ireland, but by buying everything at a bulk store, this recipe should cost you mere pennies!

Lindsay's Homemade Oatmeal

- (4) cups of water
- (1) cup of steel-cut oats
- (1) pinch of salt
- (1/4) tsp. cinnamon
- (1) cup of large flake oats (quick oats will work too)
- (1/2) cup of raisins, or any other dried or fresh fruit
- (1/8) cup of flax seeds, coconut, slivered almonds, etc. (optional)
- (2) tbsp. ground flax, oat bran, etc. (optional)
- (1) cup of milk 
- (2-3) tbsp. pure maple syrup, honey, agave, etc. (depending on how sweet you like it)
- (2-3) tbsp. brown sugar or another sweetener (again...depending on how sweet you like it)

To start, add 4 cups of water to a large pan along with 1 cup of steel-cut oats. Add a pinch of salt and cinnamon and bring to a boil over medium/high heat. 


Once the oats come to a boil, reduce heat and simmer for about 10-15 minutes. Make sure you keep an eye on your oatmeal at this point, stirring occasionally and watching that it doesn't boil over. You will notice that a good portion of the liquid will evaporate, but while there is still a fair amount of liquid left in the pot, add in the large flake oats, the raisins (or whatever dried fruit you may be using), the flax seeds, and the ground flax seed. Stir to combine.
Just a side note that your body has a tough time processing flax seeds properly and you don't always get all the nutritional benefits from whole flax seeds. This is why ground flax seeds and flax seed oil are far more beneficial nutritionally, but I just like to add them for some texture.


 Stir in one cup of milk. This will give your oatmeal a creamy texture. Add in maple syrup and brown sugar (or whatever sweeteners you may or may not be using). Cook on low heat for another 10 minutes or so...again, stirring occasionally. You will start to see your oatmeal become a thick, creamy ooey gooey masterpiece!


And there you have it! Homemade oatmeal! Remove from heat and either serve immediately or let it cool and store in an air-tight container in the fridge.